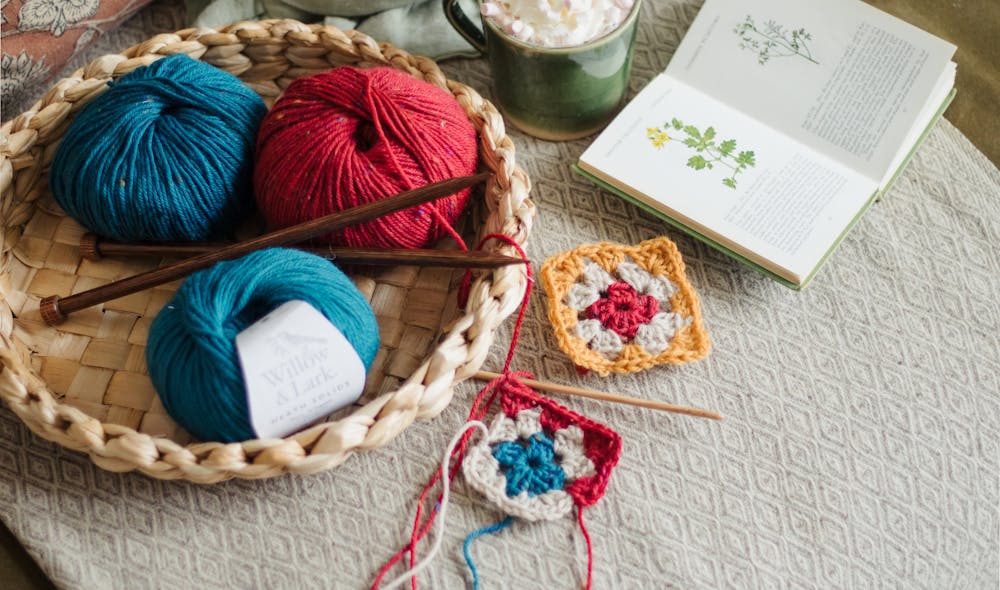
Crochet How To & Ideas
Get hooked on the latest crochet projects and tutorials right here! Whether you're just starting out, looking to level up your skills or find some craftspiration, you're in the right place!
What our makers have been reading lately
Techniques
Projects
What's new for you?
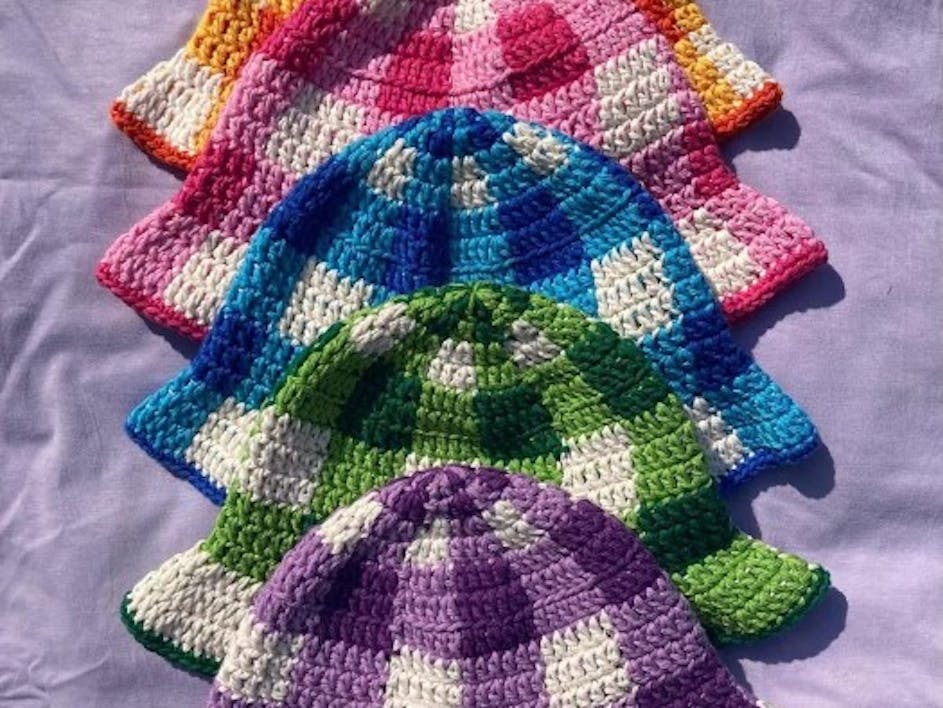
Article
Check out our top 11 bucket hat patterns, perfect for summer stylin'!
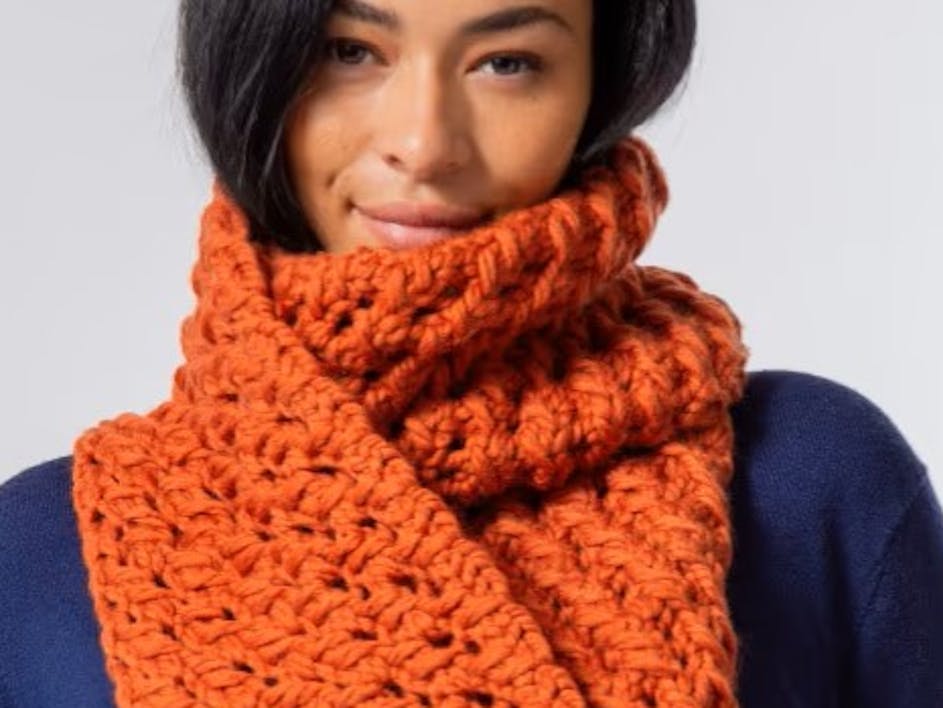
Roundup
Our favourite yarns for snuggly scarves this winter!
Roundup
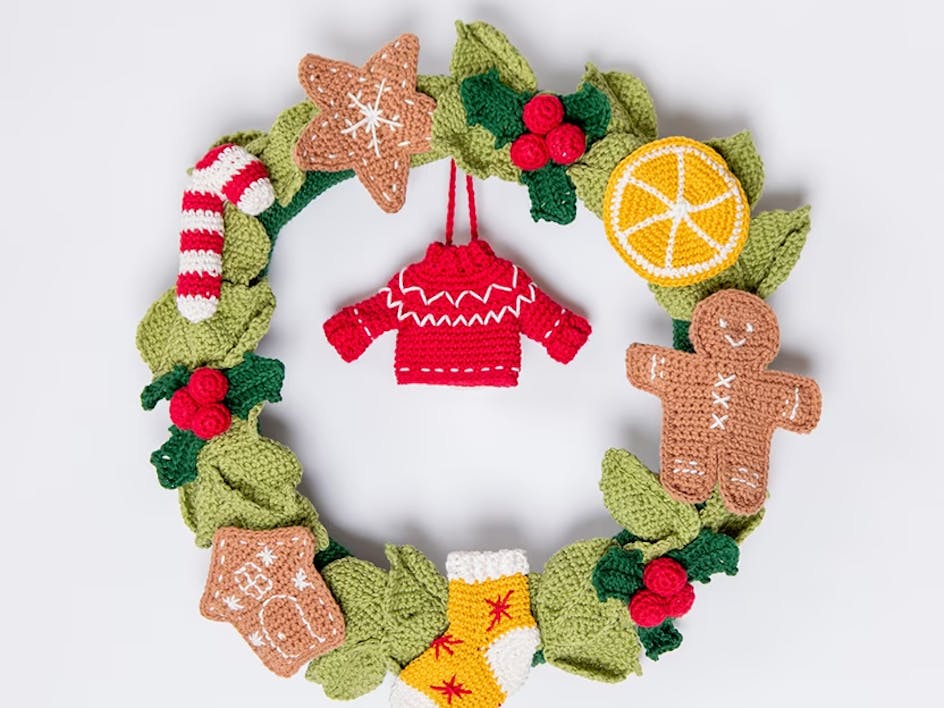
8 fab festive wreaths to make this Christmas
Roundup
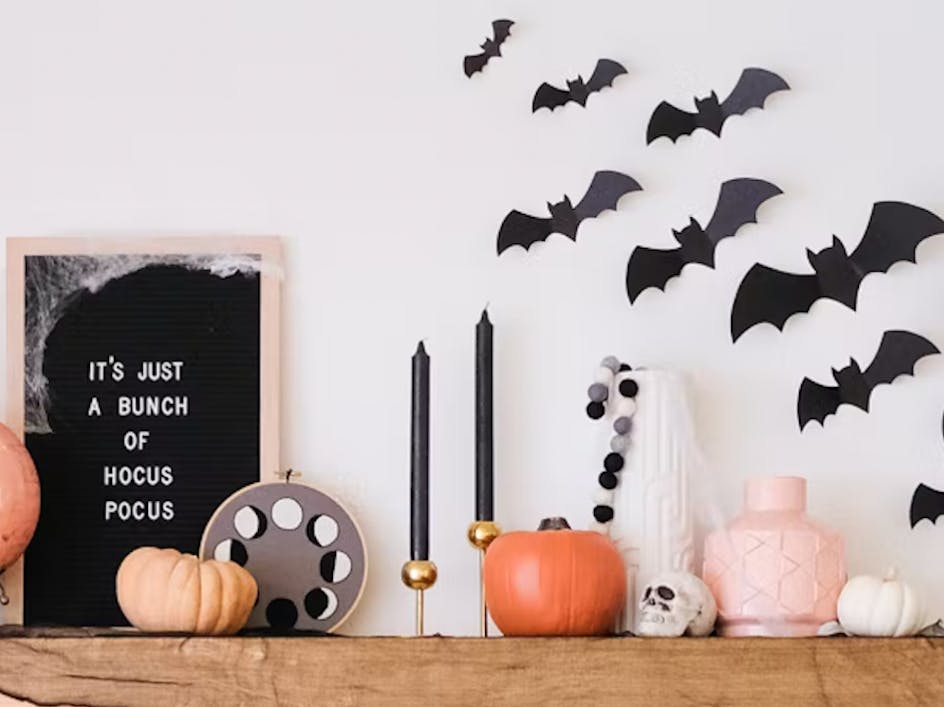
15 DIY decorations to conjure up this Halloween

Roundup
The Cozy Edit: projects and ideas for hunkering down this winter
Guide
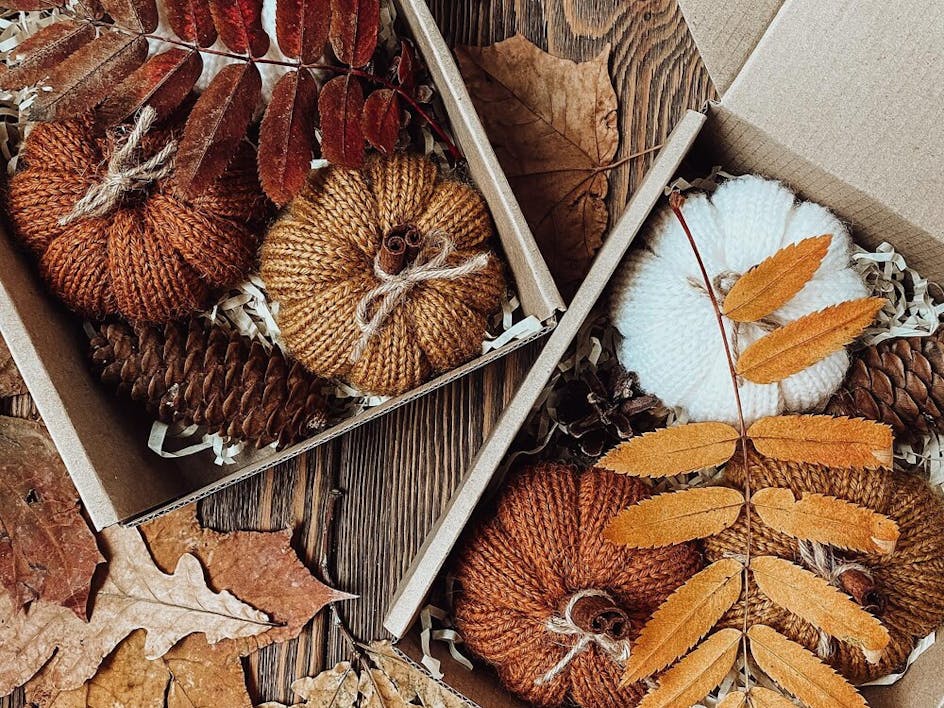
Fall crafts
Roundup
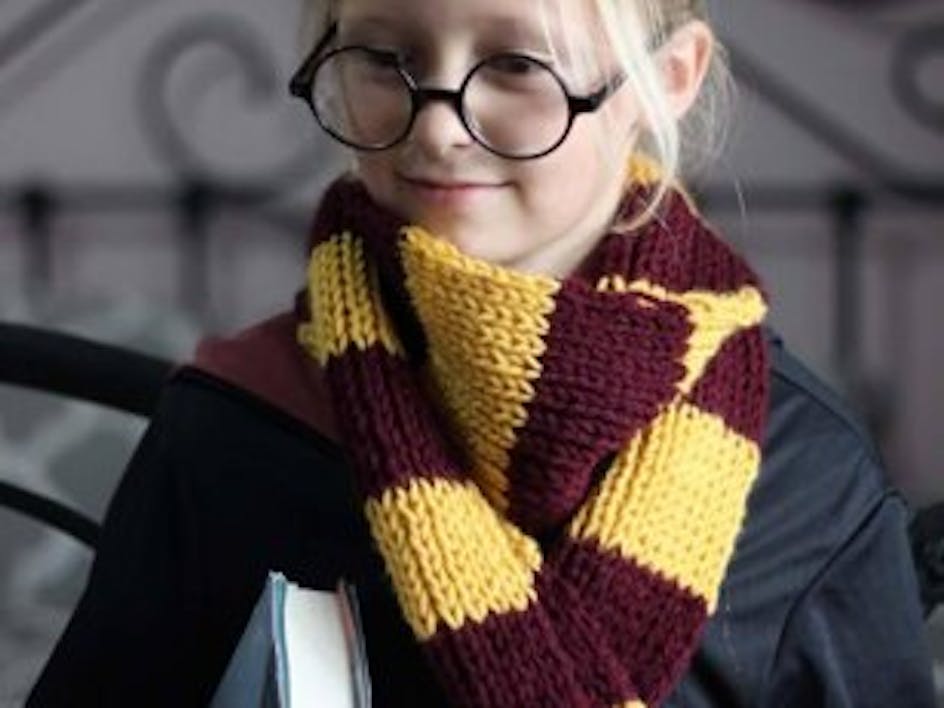
Wonderful wizard costume ideas for Halloween
Guide
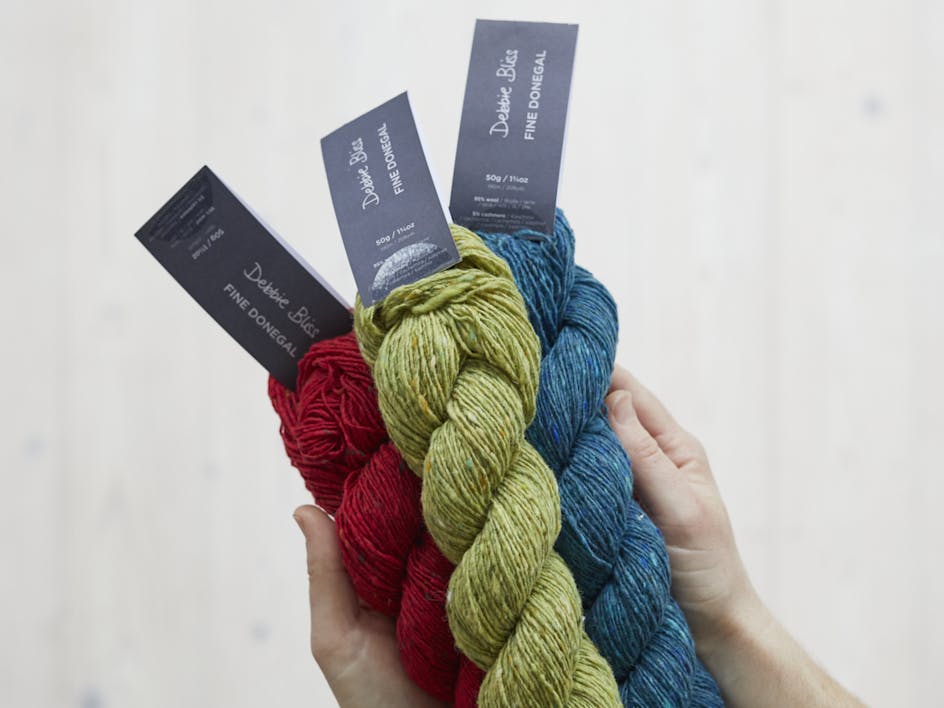
Discover the world of heritage Donegal yarns by Debbie Bliss
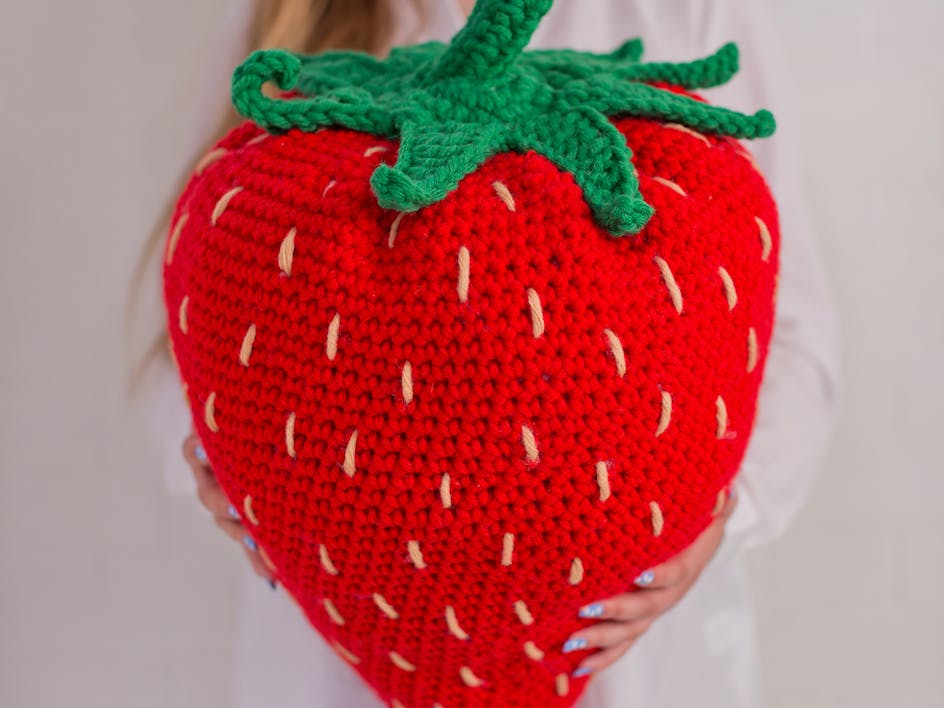
Tutorial
How to crochet a super sweet giant strawberry cushion
Roundup
NEW + trending patterns you'll want to make right now
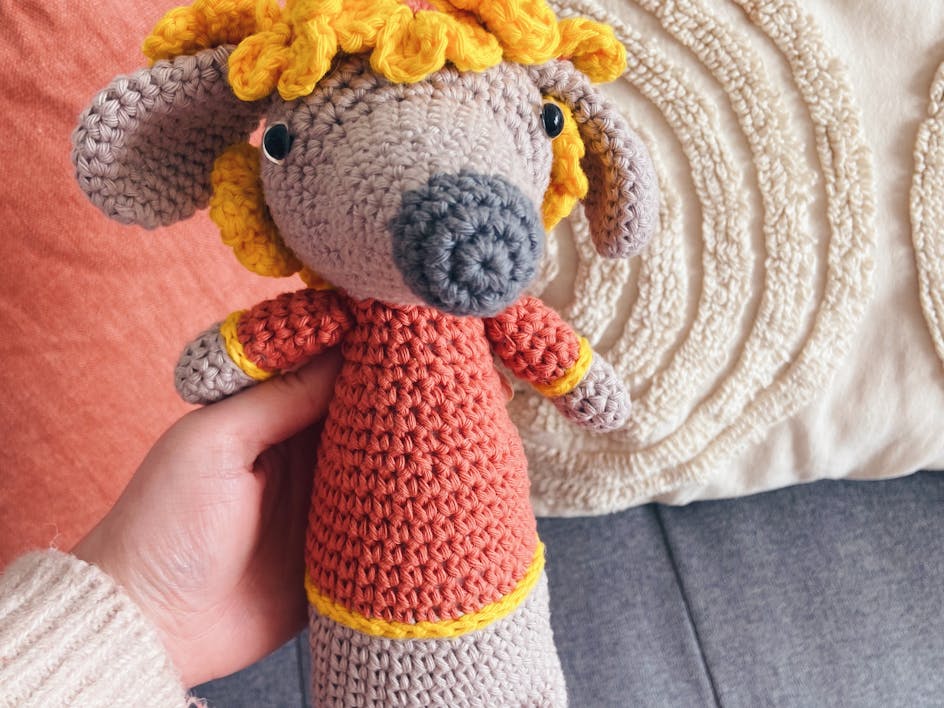
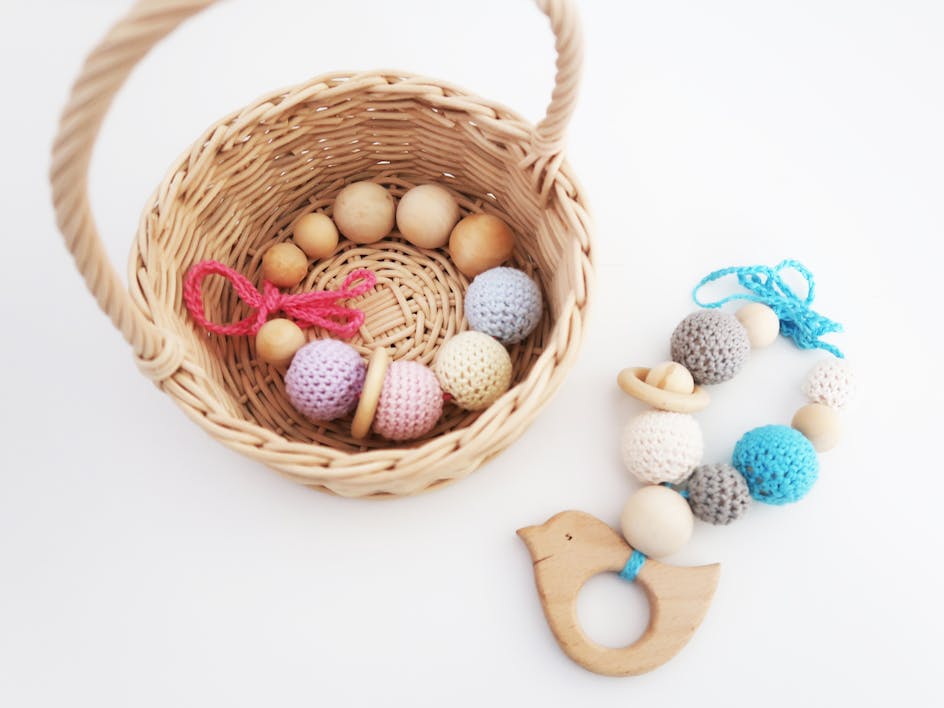
Tutorial
Meet Emily the Dachshund! Crochet the sweetest spring toy with our tutorial
Tutorial
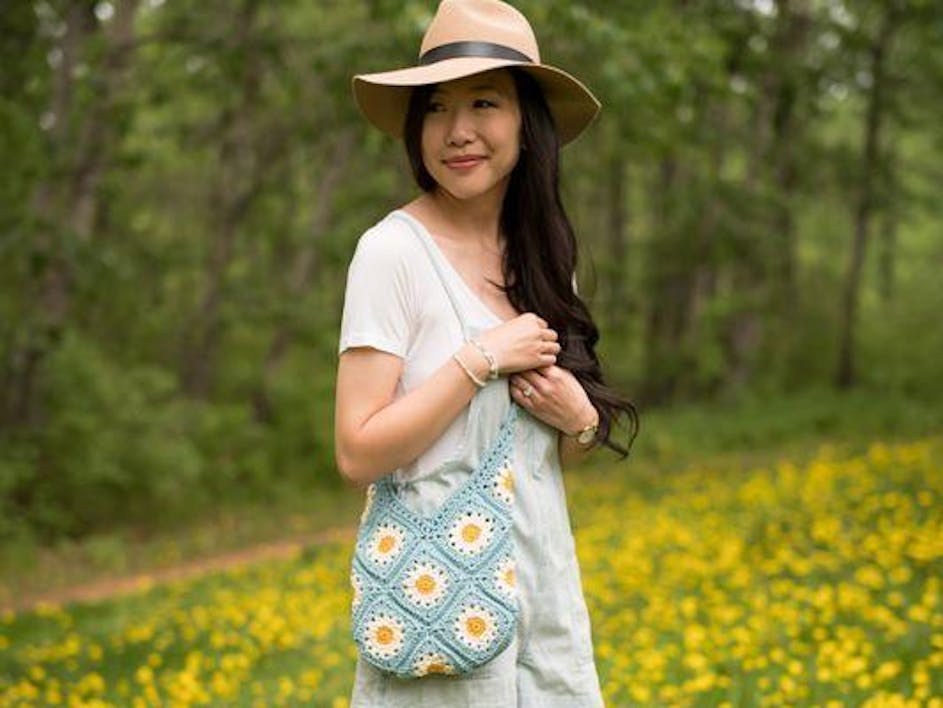
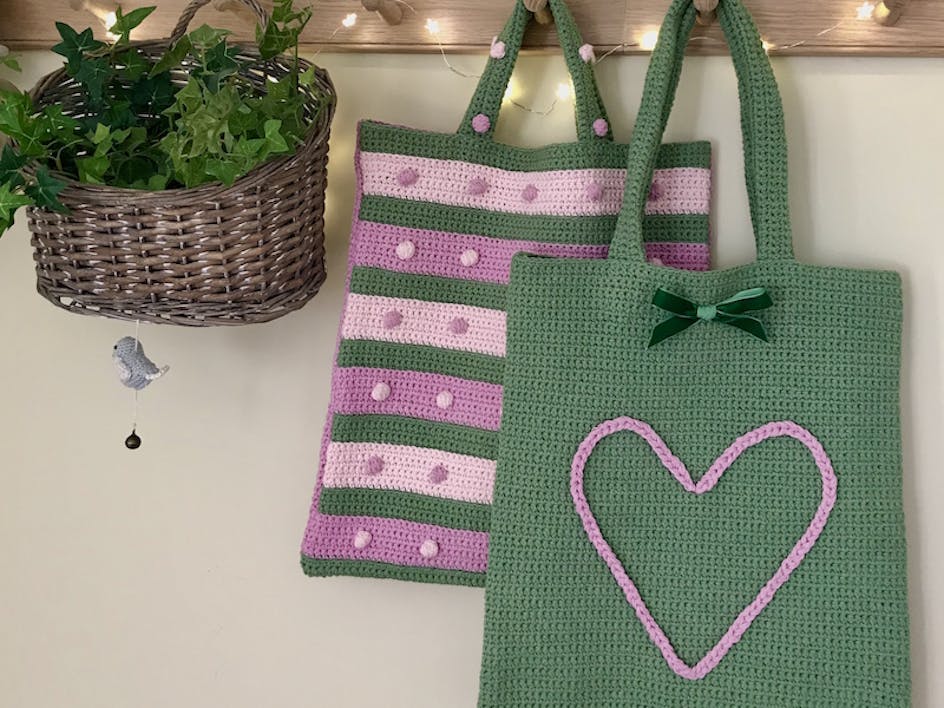
Make these planet friendly Paintbox Yarns tote bags with Kate Eastwood
Guide
Join our Patch for Pride project!
Roundup
Your next project is here! Discover Paintbox Yarns collection of coastal patterns + NEW Cotton Mix DK
Guide
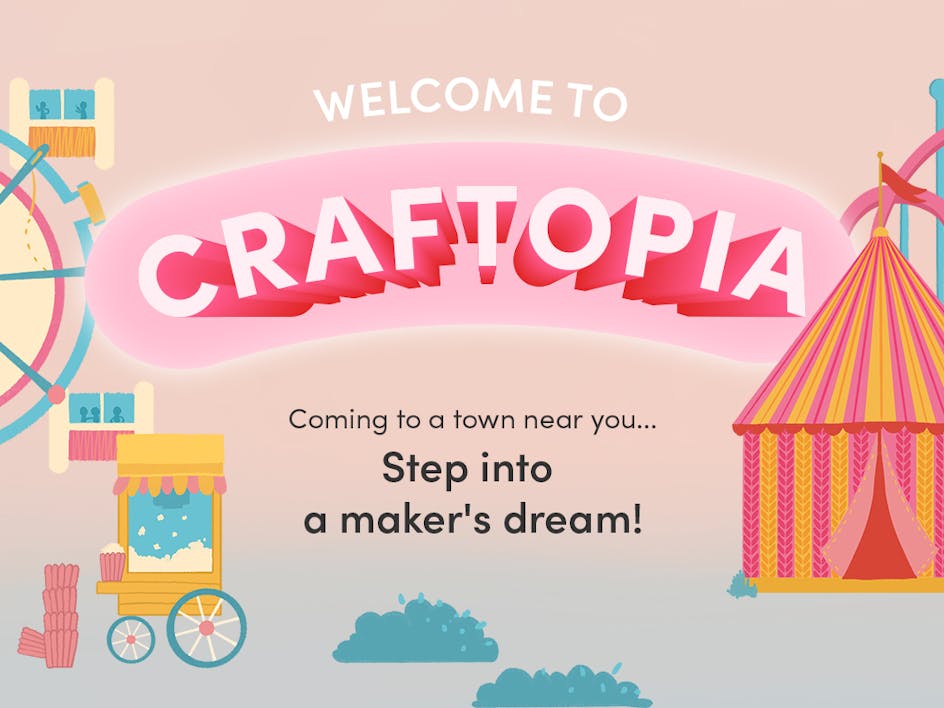
BREAKING NEWS! LoveCrafts to open a world-first craft amusement park for adults, Craftopia

Roundup
How to take care of your mental wellbeing through mindful making
Roundup
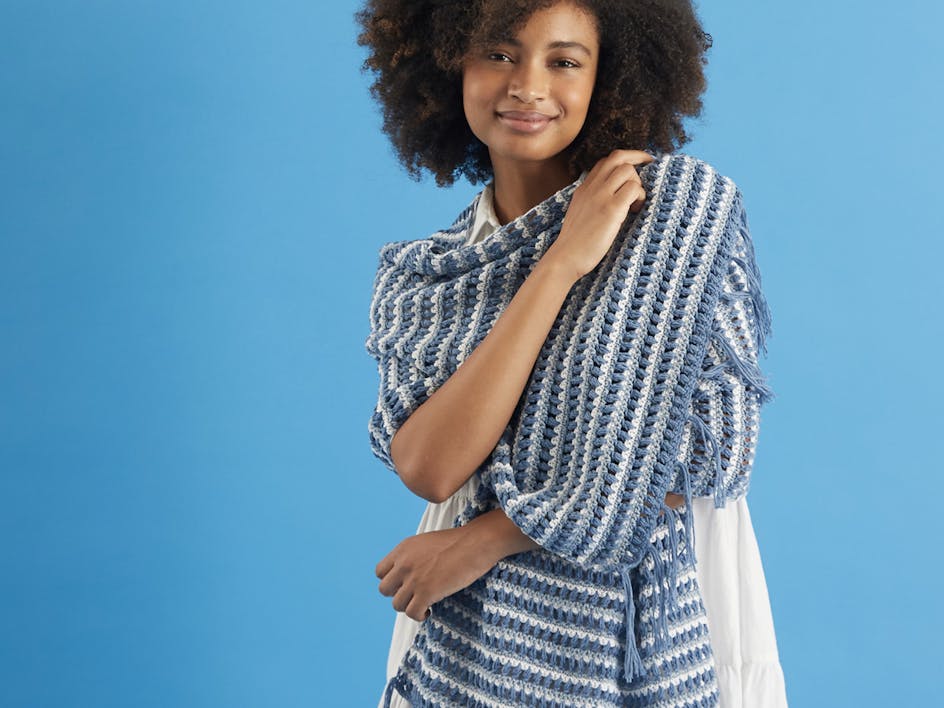
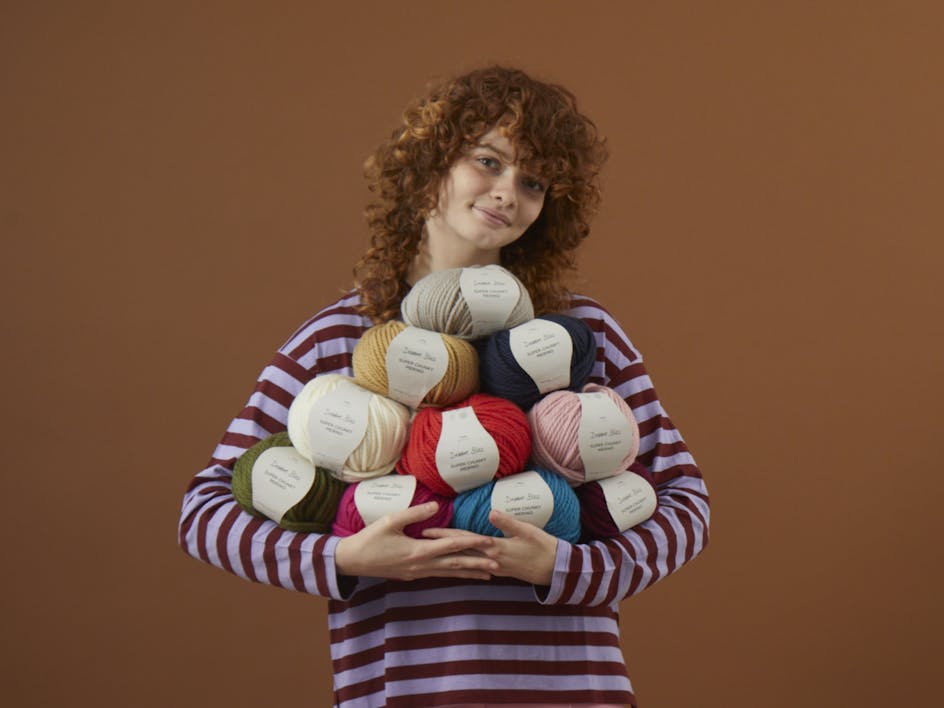
Don’t walk, run! Debbie Bliss introduces new yarn, Super Chunky Merino + a free scarf pattern just for you!
Guide
Delightful spring crafts to brighten your day!