How to crochet pretty edging
Published on July 18, 2015 By Merion 1 min read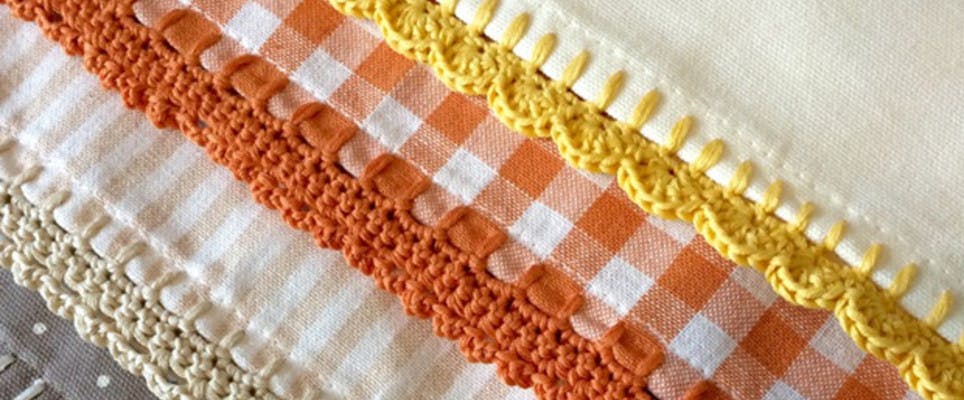
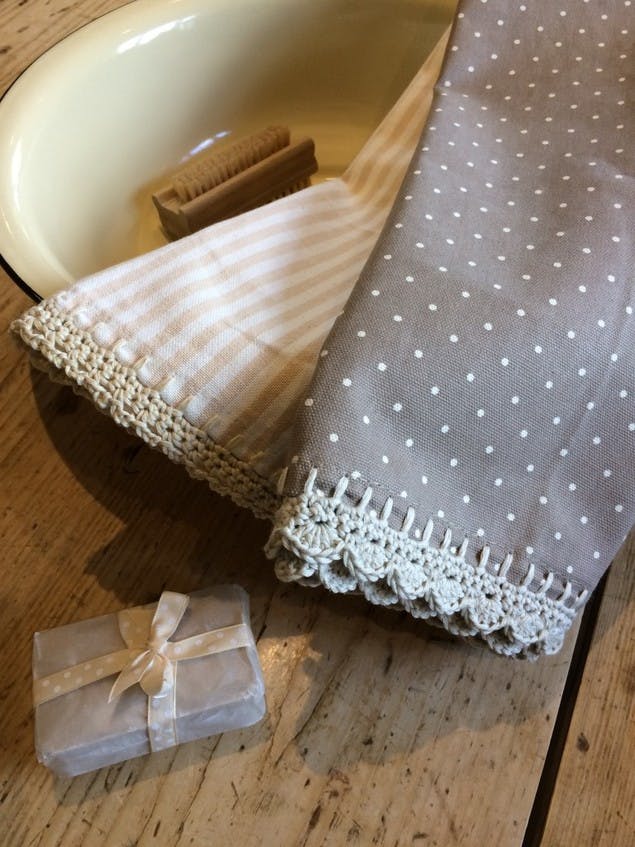
Whether it’s her stunning crocheted spring shawl or beautiful crochet bunting, Kate Eastwood’s designs always give a pretty and charming edge. In this free crochet tutorial she’ll show you how to jazz up your tea towels with pretty crocheting edging!
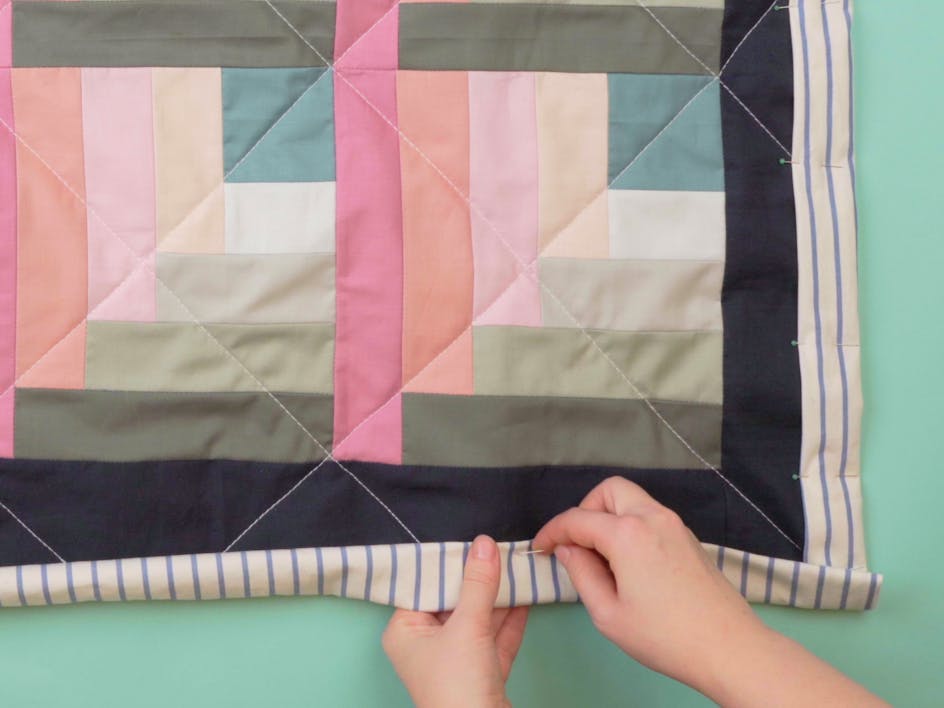
Adding pretty crochet edges to anything is fun! This method can be used to add flair to table cloths and pretty up pillow cases for a personal romantic touch.
Kate worked two different patterns for these tea towels – a shell edging (yellow plain and taupe spotty) and a chain loop edging (orange check and cream stripe). These patterns are written in UK terminology.
Materials
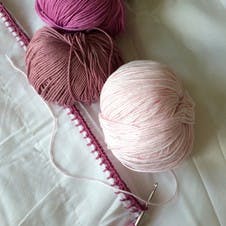
- DMC Natura Just Cotton
- Kate chose shades of orange, pink and purple for her edging
- KnitPro Aluminum Soft-Grip Silver Crochet Hook
- Size 3mm (C)
- KnitPro Tapestry Needle Set
- Sewing needle for cotton/linen
Abbreviations (UK terminology)
Ch - Chain
st - Stitch
Sl St - Slip stitch
DC - Double crochet
TR - Treble crochet
HTR - Half treble crochet
Shell edging
1
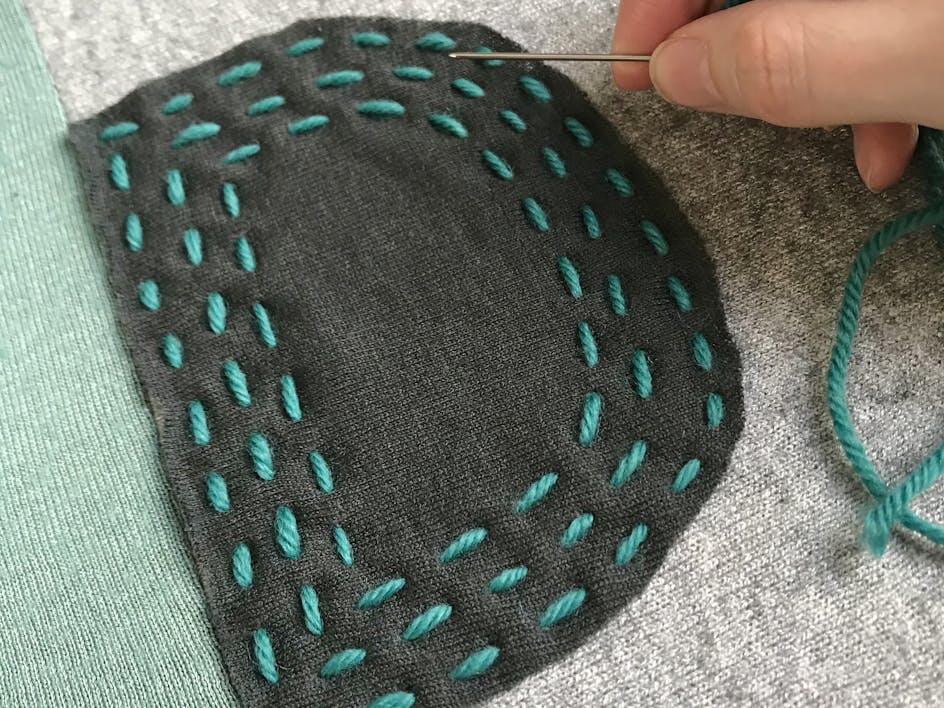
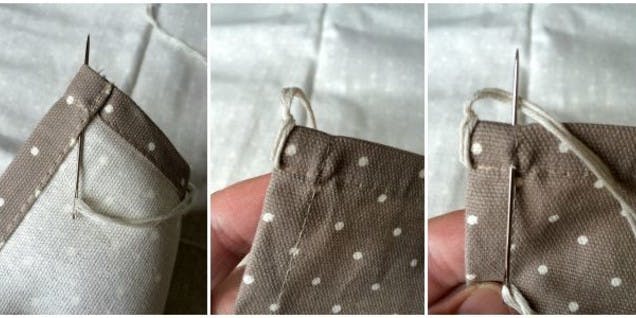
Begin your edging: Work a row of simple blanket stitch at the top and bottom of your tea towel. As Kate’s tea towel was quite a heavy weight fabric she used a double thread to sew the blanket stitch.
Pro Tip
Make sure your stitches are evenly spaced across the row. It’s worth spending a bit of time over this as it will be the foundation for your crochet edging.
2
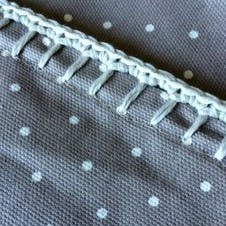
Begin the crochet edging: Working from left to right carefully work 2 DC stitches in to each of the top parts of the blanket stitch. You may find that this varies according to your tension and the size of your blanket stitch, but as a rough rule of thumb Kate’s blanket stitch spacing was probably about just under a cm a stitch and this fitted two dc quite nicely.
3
Set up: At the end of the row, Ch 1.
Turn and work back along the row in DC.
At the end of this row, Ch 1 and turn.
You are now on your final row, so this is where we are going to add the shell border.
4
Shell edging pattern:
*DC into the next st, skip 1 st, work 5TR in to the next st, skip 1 st, work 1DC in to the next st*
Repeat from * to * to the end of the row.
At the end of the row finish off and sew in the yarn ends. Repeat the same pattern along the bottom edge of the tea towel.
Chain loop edging
1
Begin your edging: Start this edging in exactly the same way as the shell edging by working a row of blanket stitch.
Crochet 2 DC into each blanket stitch space.
2
Set up: Work one row of DC.
At the end of the row Ch 1, and turn.
3
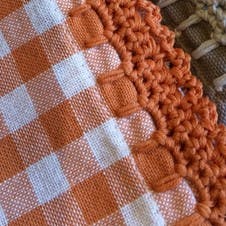
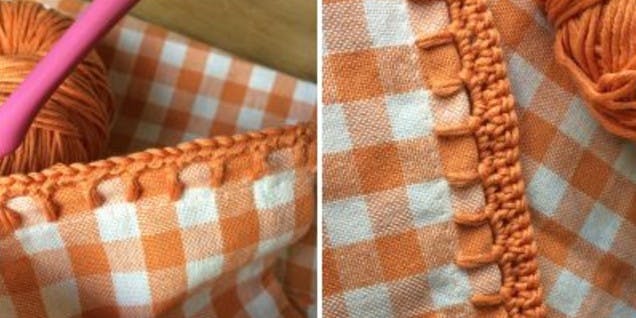
Chain loop edging:
Work 1 DC in to the first st, *Ch 3 , skip 1 st, 1 DC in to the next st*
Repeat from * to * to the end of the row.
Finish off and sew in the yarn ends.
For pillowcases, Kate wanted a slightly lacier effect so, as well as using a couple of different colors for each pillowcase, she chose a more curvy border.
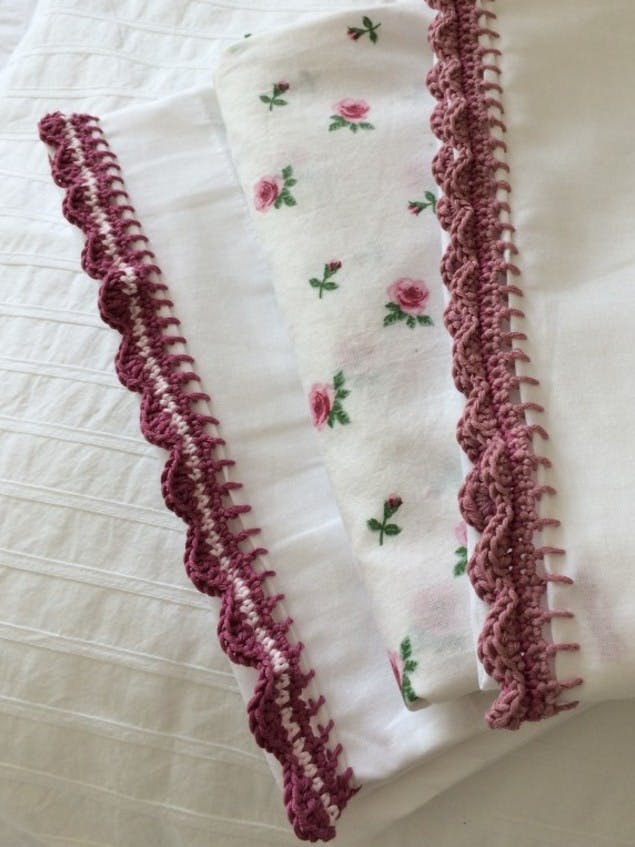
Curvy edging
1
Begin your edging: Start off in exactly the same way as for the tea towels, by working a row of blanket stitch across the end of your pillowcase. As pillowcases are a much finer cotton than tea towels, use a single strand of yarn for the sewing part.
2
Set up: After your row of blanket stitch, crochet a row of DC, fitting 2 DC in to each stitch space.
For the next row of DC, Kate used a different colored yarn.
3
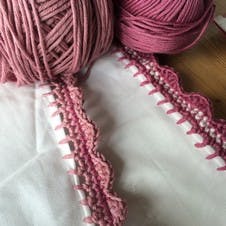
Curvy edging:
At the start of the row Sl St, then *DC into the next st, HTR into the next st, work 3TR into the next st, then work a HTR, followed by a DC, followed by a Sl St*
Repeat from * to * to the end of the row.
Finish off and sew in your yarn ends.
And before you know it, you’ll be edging everything in sight!" - Merion