Crochet with Kate: Matching Hot Water Bottles!
Published on December 6, 2015 2 min read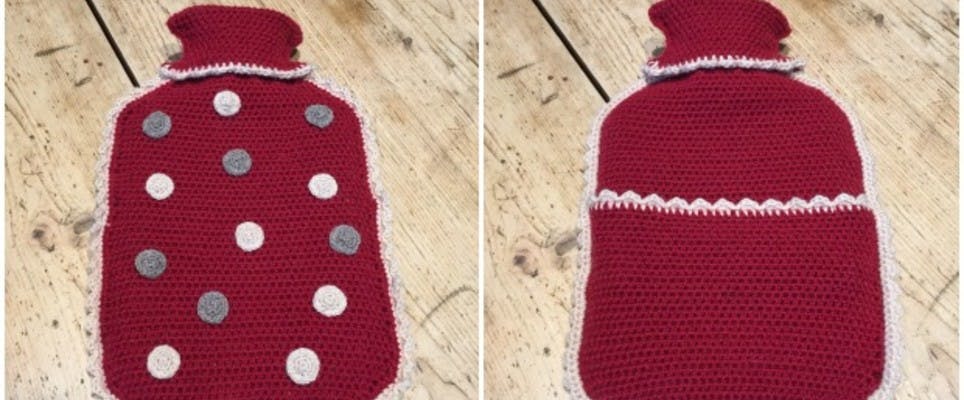
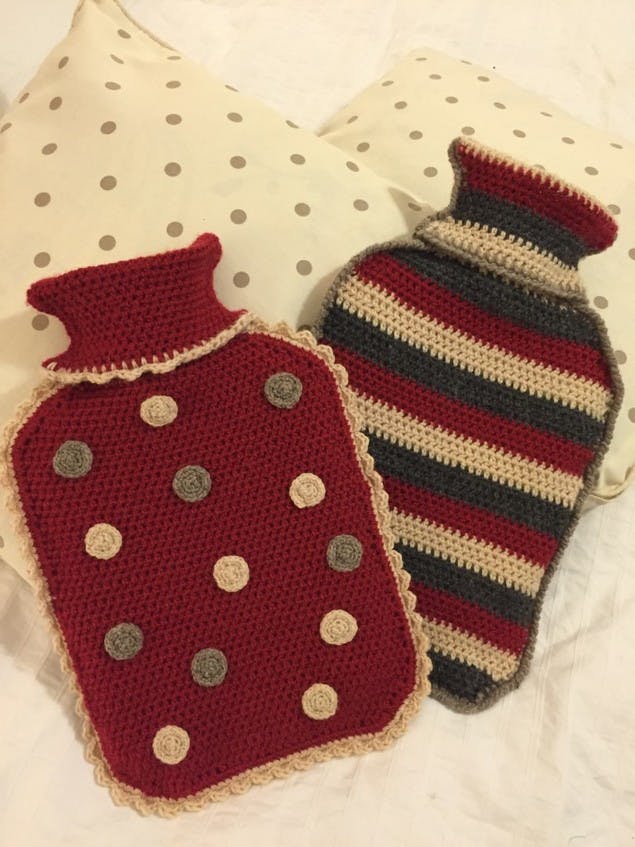
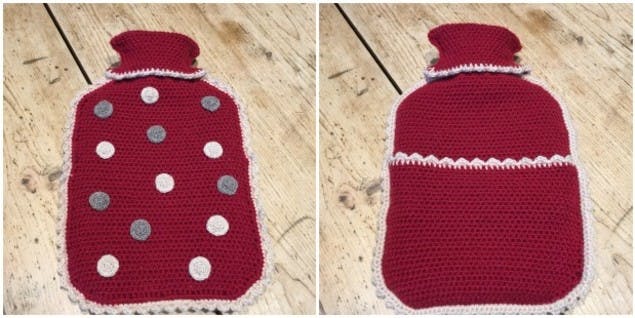
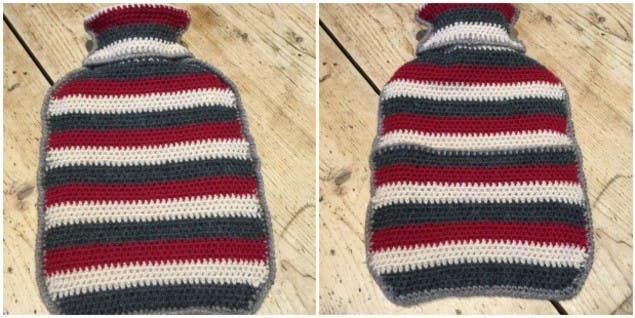
The perfect present for a frosty winter! Matching hot water bottle covers by brilliant crochet blogger Kate Eastwood!
As we head in to the colder evenings what could be nicer than snuggling up with a cozy hot water bottle and a cuppa – and better still you won’t even have to share your hot water bottle with your other half as we have the perfect matching pair!
Both covers are made in co-ordinating colors and are worked to fit a 2L hot water bottle, measuring approx. 20cm x 32cm, with a straight edge along the bottom of the bottle. The design of the cover allows you to fill the bottle from the top without taking the cover off, but there is also a foldover flap at the back so the cover can easily be removed for washing.
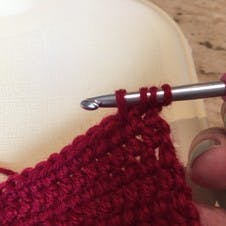
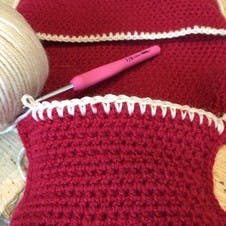
I used a 4mm hook for the majority of the covers, and used a 3mm hook to make the spots for the red cover. The cover is worked in HTR. The crochet terminology is shown in UK crochet, but you can use our handy conversion chart for US crochet terms here.
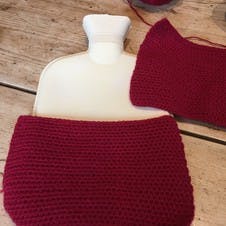
Each cover is made up of a front piece, an upper back piece and a lower back piece.
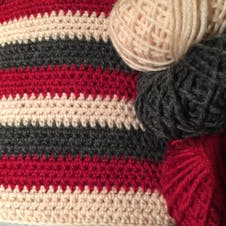
Materials
- 1 x Paintbox Yarns Simply DK in Granite Grey
- 1 x Paintbox Yarns Simply DK in Slate Grey
- 2 x Paintbox Yarns Simply DK in Red Wine
- 1 x Paintbox Yarns Simply DK in Vanilla Cream
- Paintbox Yarns Simply DK
Red cover
1
For the lower back piece. Row 1: Chain 31 and starting in the second chain from the hook work a row of HTR. 30 sts. At the end of the row CH1 and turn.
2
For row 2. Work a row of HTR. 30 sts. At the end of the row CH1 and turn.
3
For row 3. We are now going to start making the curved edge to the cover to fit the shape of the hot water bottle. To do this work 2 HTR in to the first and last stitch of the row, and work the rest of the row also in HTR. At the end of the row CH 1 and turn. 32 sts.
4
For rows 4 to 6. As row 3, remembering at the end of each row to CH 1 and turn. 38 sts. ***
5
Finish it off. That is your shaping complete. Now work a further 23 rows of HTR, remembering to CH 1 and turn at the end of each row. Finish off and sew in ends.
6
For the upper back piece. For row 1, chain 39 and starting in the second chain from the hook, work a row of HTR. 38 sts.
7
Continue on. Work a further 30 rows of HTR , remembering to CH 1 and turn at the end of each row.
8
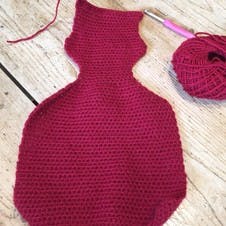
To begin the shaping for the neck of the hot water bottle. **** So, at the start of the next row, yarn over and pull through a loop in the next 2 sts. Yarn over and pull through all 4 loops.
9
Next. Work the rest of the row in HTR and when you get to the last 2 sts, yarn over, pull through a loop in the next two stitches, yarn over and pull through all 4 loops. 36 sts. CH 1 and turn.
10
Continue on. Work a further 7 rows like this, remembering to CH 1 and turn at the end of each row. At the end of these 7 rows you should have 22 sts.
11
For the next row. Work a further row of HTR, decreasing every other st ( in the same way as above ) as you work along the row. This will leave you with 15 sts.
12
For the following row. Work a further row of HTR and work a further decrease across the 7th and 8th stitches. 14sts. CH 1 and turn.
13

Next. You now need to work 5 straight rows of HTR, remembering to CH 1 and turn at the end of each row.
14
Let's begin increasing again to widen the neck. For this next row, work 2 HTR in to the first and last stitch of this row. 16 sts. CH 1 and turn.
15
For the next row. Work a further 4 rows like this, remembering to CH 1 and turn at the end of every row. You should now have 24 sts.
16
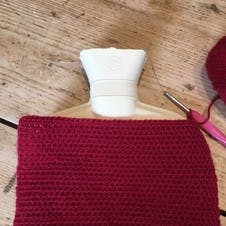
Next up. Work the next 3 rows straight, remembering to CH 1 and turn at the end of each row. 26 sts. As I have designed the cover to have a double thickness fold around the top of the hot water bottle we are now going to mirror the part of the neck shaping we have just done.
17
Keep shaping that neck. For this next row, as before, decrease in the first and last stitch of the next 3 rows. 20 sts. Remember to CH 1 and turn at the end of each row.
18
Continue on. Work the next 6 rows as straight HTR rows. 20 sts. Remember to CH 1 and turn at the end of each row.
19
Finish it off. Your last three rows give a slight increase in shape again, so in each of the next 3 rows work 2 HTR in to the first and last stitches. 26 sts. Remember to CH 1 and turn at the end of each row. Finish off and sew in ends.
20
To make the front piece. Work as the lower back piece to *** Work 38 rows of HTR , 38sts. Remember to CH 1 and turn at the end of each row.
21

To begin the neck shaping. You are now going to begin the shaping of the next , as from ****
22
Sew it. Finish off and sew in ends.
23
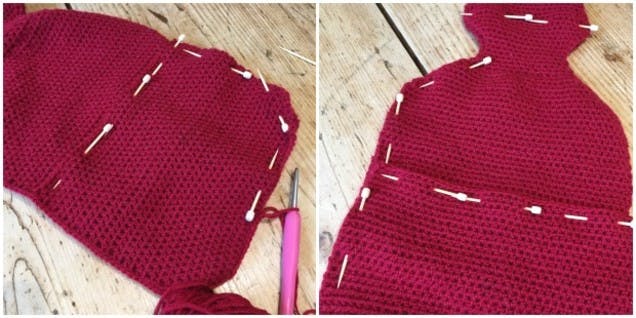
Join them! You are now ready to join all of the three pieces together. Start by pinning your pieces together, aligning the upper back and lower back pieces so that it is the same size as the front piece. You are going to be joining the pieces together by working DC all the way around the edge, starting from the fold over half way point at the neck. I worked this first round of DC in the red.
24
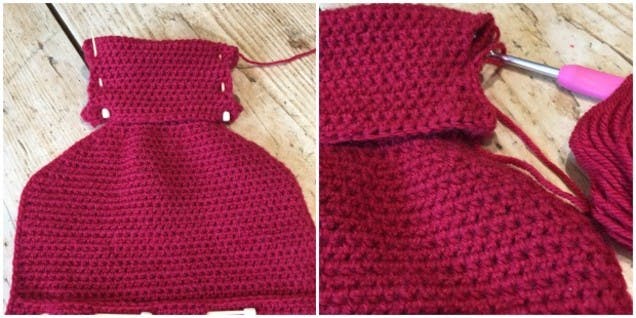
Next. When you have completed the round, fold over the neck and join these sides together with DC.
25
Add in the white yarn. I then worked a second round of DC in cream. I also added a deep DC border across the back flap, and around the bottom of the neck edge.
26
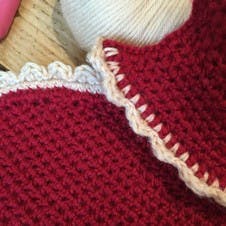
To finish off the edging. I worked a final round of cream in a simple scallop pattern as follows. *Work a sl ss in the first and then the second st, then work a HTR, TR and HTR all into the third st. Sl ss in to the next st and then sl st again in to the next st. Begin from the * again, working all the way around the edge of the cover. I worked the same scallop pattern around the bottom of the neck edge.
27
To finish it off. The finishing touch for the red cover is to add some spots in the co-ordinating colors. I used the cream and the light grey for my spots.
28
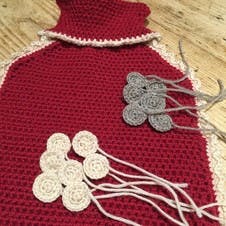
To make the spots. Make a Magic Ring and work 4 DC in to the ring. Join with a sl st. CH 1 and work 2DC in to each st from the first round. 8 sts. Join together with a sl st. Ch 1 and work 2 DC in to each st from the last round. 16 sts. Join with a sl st. Finish off. Use the ends of the yarns still attached to your spots to sew the spots in to place on to the front of the hot water bottle cover.
The stripy cover
Pro Tip
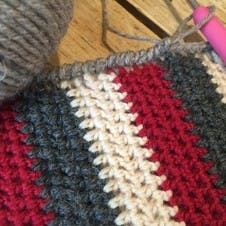
The stripy cover is worked to exactly the same pattern as the red cover, with a different color change every 4 th row. I used the red, cream and dark grey for my stripes.
1
Let's start. For the edging I worked 2 rounds of DC in the light grey, and worked a row of deep DC along the foldover flap at the back.
2
Next. I then worked a third and final round in rope stitch. This is simply DC but you are working clockwise instead of the usual anticlockwise. I worked rope stitch around the neck edge too.
Now all that’s left to do is put the kettle on, fill that hot water bottle and get snuggling!