Crochet club: The simple hat
Published on April 4, 2019 By Merion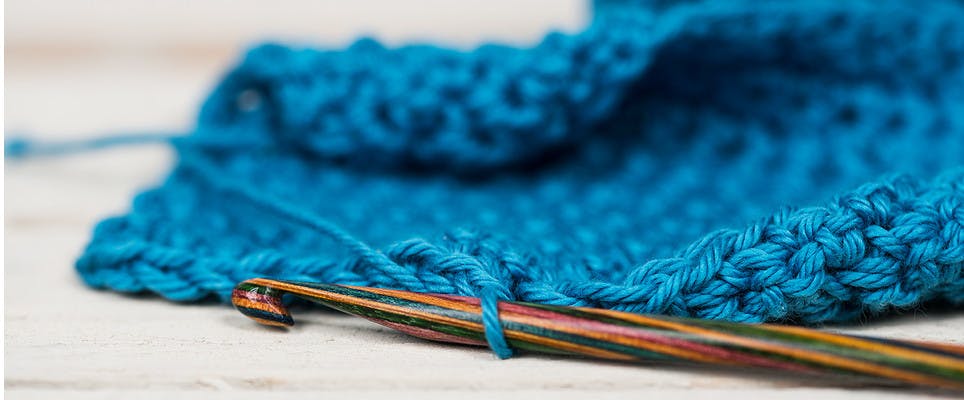
Brilliant Kate Eastwood from the Just Pootling blog has designed a quick crochet hat perfect for last minute gifts! Watch out though – once you’ve made one, everyone will want one!
Materials
- Rico Essentials Big
- 4 balls in Stone Grey (23)
- Clover Soft Touch Crochet Hook (13cm)
- Size 6mm (J)
Abbreviations (UK Terminology)
Ch - Chain
DC - Double crochet
TR - Treble crochet
With the cold weather lingering around, now seems like the perfect time to start making warm, wooly hats for all the family, and this chunky beanie hat is certainly perfect for keeping ears toasty and warm!
This is a very simple hat pattern: the hat is a rectangle of crochet, worked in TR and a rib effect, that’s sewn together along the shorter edges and then gathered at the top!
As long as the finished size of your rectangle is 29cm x 50cm, you can use any yarn and hook size you like!" - Kate Eastwood

How to make the hat
1
Getting started: Begin by working a loose chain of 41 stitches.

2
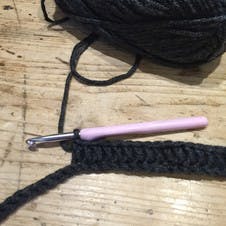
At the end of the chain, turn, yarn over and work a row of TR, beginning in the 2nd chain from the hook.
3
Working into the back loop: At the end of the row Ch 1 and turn.
You are now just going to continue working rows of TR until the right length is reached.
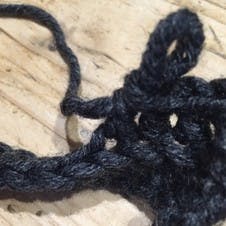
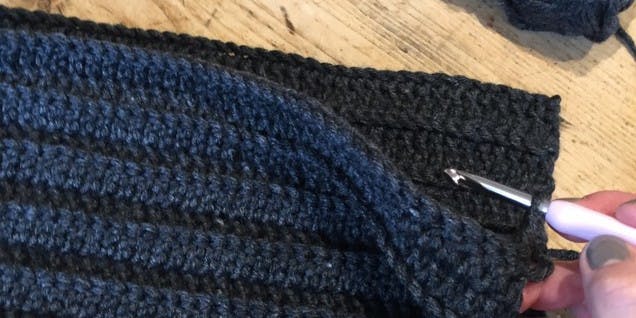
To create the rib effect you will be working into the back loop of each stitch only.
If you look at the photo you will see the top of the row of stitches that you are working into for your second row. If you look at the stitch where the loop is you can see that I have worked into the back loop only when making the TR. This is what creates the ridged, ribbed effect.
4
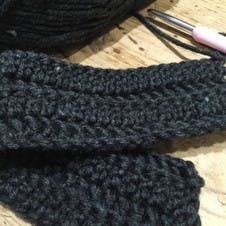
Continue working rows exactly like this until your work measures 50cm – all you need to remember is to Ch 1 and turn at the end of each row and to work your TR into the back loop only.
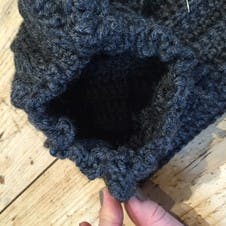
Once you have reached the required measurement, do not finish off as you are now going to fold your work in half - short sides together - and carry on using your yarn and hook to join the two sides together.
Joining the sides
1
Work a row of DC all the way along that joins the two edges together. If you prefer you can also do this using a needle and a length of yarn.
2

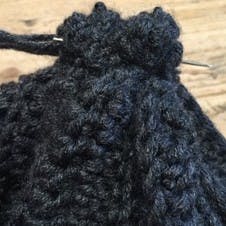
Finishing off: Now, making sure your seam is facing out, (right side on the inside) using a needle and thread sew a running stitch about 1cm down from the top edge, all the way around the top of the hat.
3
Carefully pull the thread and ease the gathers around neatly.
4
To close the opening at the top, pull the thread as tightly as you can.
To make sure the fastening is secure, stitch a few more stitches both around the top and across the top.
5
Once your hat is turned the right way out, fold the bottom edge of the hat up a couple of centimetres to make the turn up.
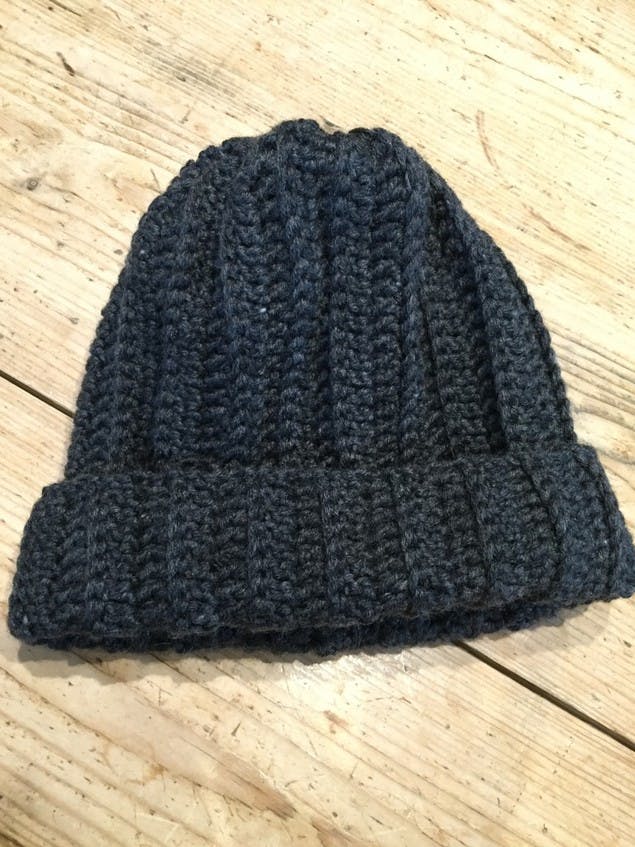
And there you have it! One very snuggly hat and the perfect handmade gift.