Crochet with Kate: Chocolate orange cozies!
Published on January 25, 2019 By Kate Eastwood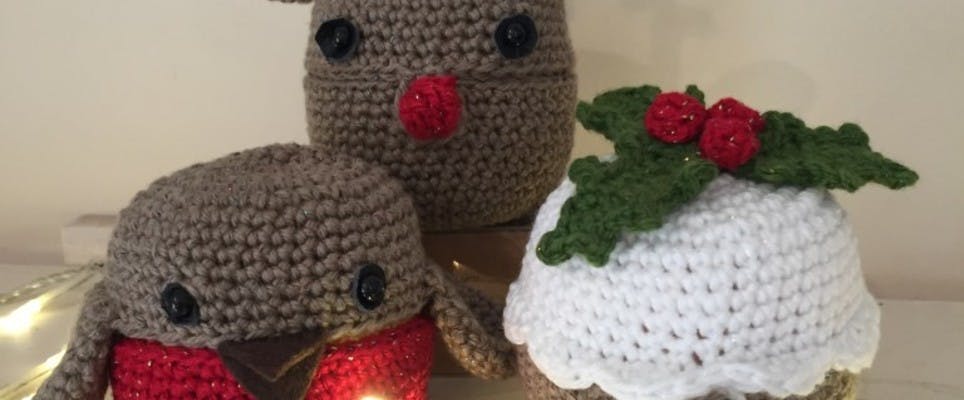
Ready for some festive fun with Kate Eastwood? These little cozy covers for those Terry’s Chocolate Oranges that we love to pop in a Christmas stocking!
It’s always fun to try and disguise your presents with wrapping – and what could be cuter than these little chocolate orange covers?
At first sight they look like Christmas decorations but gently open them up and you will find the best of chocolatey surprises inside! As well as being perfect stocking fillers they can also be used for table place markers, and will certainly add a little extra festivity to your Christmas dinner table.
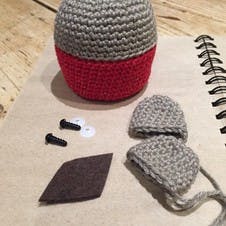
Materials
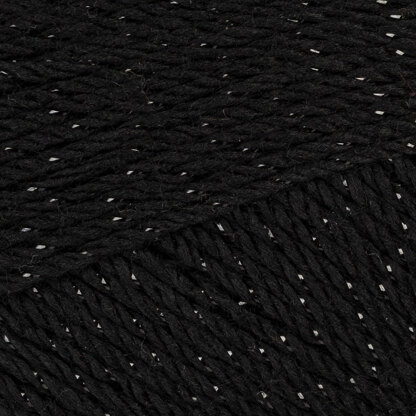
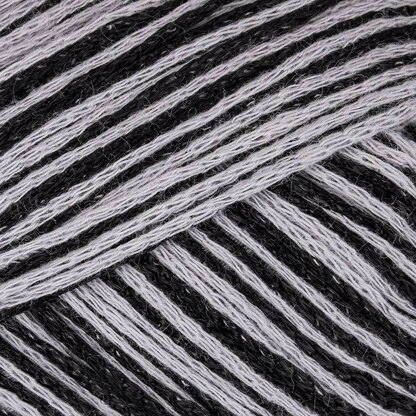
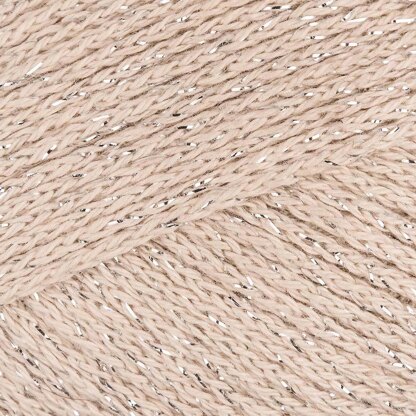
- King Cole Glitz DK
- 1 ball each of Diamond White (483), Cherry (481), Christmas Green (3309), Fudge (1723)
- Trimits Toy Eyes Solid Black
- 2 sparkly pipe cleaners
- Small amount of brown and black felt
- KnitPro Waves Crochet Hook
- Size 3.5mm
Shop festive metallic picks!
Making the reindeer
Start the bottom half
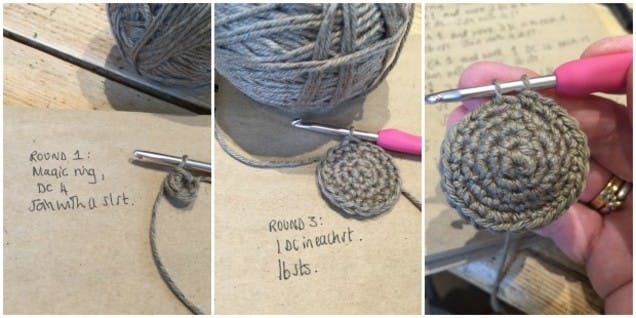
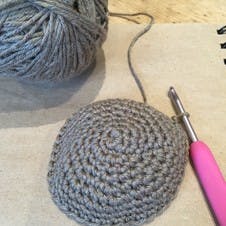
Round 1: Make a magic ring and work 4 DC into the ring.
Join with a Sl St.
Round 2: Ch 1 and work 2 DC into each stitch from the previous round. 8 sts.
Join with a Sl St.
Round 3: Ch 1 and work 2 DC into each stitch from the previous round. 16 sts.
Join with a Sl St.
Round 4: Ch 1 and work 1 DC into each stitch. 16 sts.
Join with a Sl St.
Shape the bottom half
Round 5: Ch 1 *Work 2 DC in to the next st, then 1 DC in to the next st*
Continue from * to * all the way round. 24 sts.
Join with a Sl St.
Round 6: Ch 1 * DC 2 in the next st, then 1 DC in to each of the next 2 sts*
Repeat from * to *. 32 sts.
Join with a Sl St.
Round 7: Ch 1 * 2 DC in to the next st, then 1 DC in to each of the next 3 sts*
Repeat from * to *. 40 sts.
Join with a Sl St.
You will now notice a dome shape beginning to form.
Finish the bottom half
Rounds 8 to 14: Work straight rounds of DC. 40 sts. Start each round with a Ch 1 and join each round end with a Sl St.
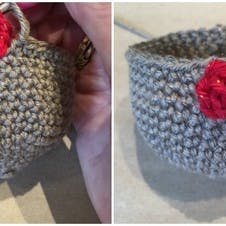
Round 15: In this round we are going to make the reindeer’s nose, which will also act as the bobble catch to hold the top and bottom of the cover together.
Ch 1 and work 19 DC. Join in your Cherry yarn and into the 20th st work 8 DTR, leaving the final loop of each DTR on the hook.
You should end up with your 1st loop in the Fudge and 8 Cherry loops. Use the Fudge to yarn over and pull through all 9 loops.
Continue the rest of the round in the Fudge.
Join with a Sl St.
Round 16: Ch 1 and work a straight round of 40 DC. Join with a Sl St and finish off.
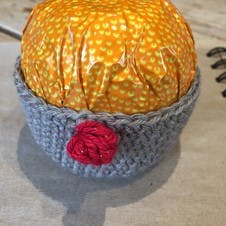
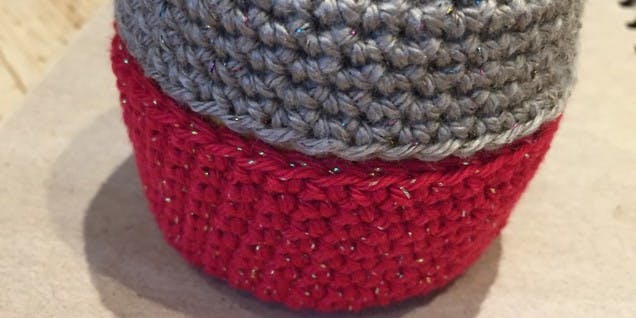
That completes the bottom half of the cover and you should find that the chocolate orange sits snuggly inside.
Make the top half
Work rounds 1 to 7 as above.
Work a further 6 rounds of DC, 40 sts.
Remember to Ch 1 at the beginning of each round and to join with a Sl St at the end of each round.
Work one final round of DC as follows:
Ch 1, DC 20 and in the 20 th st work a chain of 10.
Sl St the end of the chain back in to the 20th st. This creates the loop that will go around the bobble nose.
Make 2 ears
Make a magic ring and work 4 DC in to the circle.
Work 2 DC in to each st. 8 sts.
Work 5 further rounds of 8sts.
The easiest way to do this is to just keep working round until you've worked 40sts.
In the final round work 2 DC together all the way round, 4 sts.
Finish off.
Sew the ears on to the side of the head.
Make the antlers
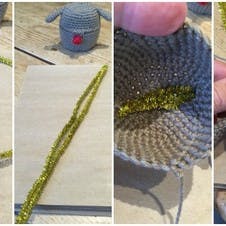
Take the two pipe cleaners and twist the ends together to form a circle.
Fold the circle in half and carefully poke it through the top of the head from the inside to the outside.
Use the double thickness of pipe cleaner to create the antler shape you want, by twisting and shaping them.
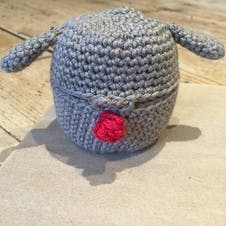
Finishing touches
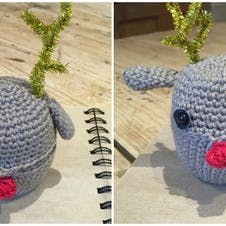
Add your two safety eyes and to finish make a ‘hinge’ of over sew stitches at the back of the cover to join the top and bottom together.
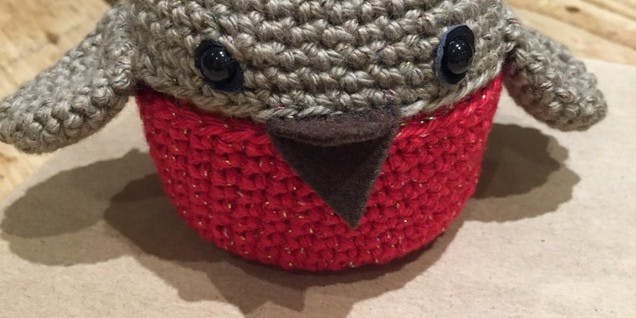
Making the robin
Make the bottom half
Work the same as for the bottom of the reindeer - using the Cherry yarn.
No need to make the bobble in round 15.
Make the top half
Work the same as for the top of the reindeer - using the Fudge yarn.
No need to make the chain loop.
Make 2 wings
Make a magic ring, work 8 DC in to the circle.
Round 1: Work 2 DC in to each st. 16 sts.
Work a further 6 rounds of 16 sts.
Finish off.
Finishing touches
Sew the wings on to the sides of the lower top half.
Sew on a beak made from a diamond of brown felt folded in half to make a beak shape, and attach the toy safety eyes.
Oversew a ‘hinge’ of stitches at the centre back to join the two halves together.
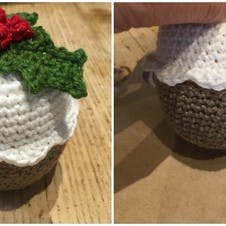
Making the Christmas pudding
Make the bottom half
Work the bottom half of the cover the same as for the reindeer, using Fudge.
Work the bobble in round 15.
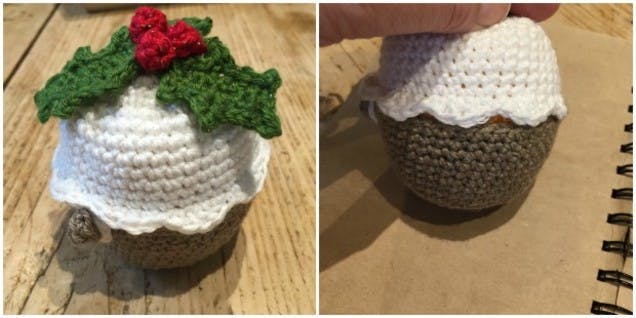
Make the top half
Work the top half of the cover the same as for the reindeer in Diamond White.
Work the chain loop in the final round.
Finishing edge: Work * 1 HTR, then work 2 TR in to the next st and 1 HTR in to the following st. Sl St the next stitch*
Repeat from * to * all the way around.
The chain loop will be tucked up underneath this finishing edge.
Join the halves
Oversew a ‘hinge’ of stitches at the centre back to join the two halves together.
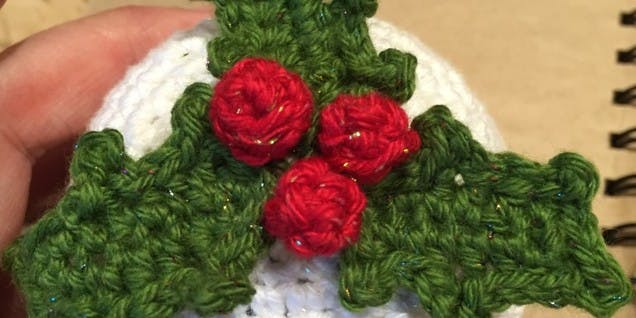
Make 3 leaves
Ch 9
DC into the 2nd Ch from the hook, then work along the chain as follows:
DC
DC
4 HTR into the next 4 sts.
DC
DC across the end of the chain, then work back up the other side of the chain as follows:
4 HTR in the next 4 sts
3 DC in the next 3 sts
Sl St around the end.
Add the holly leaf shape:
CH 3, Sl St into 1st chain and then Sl St back in to the leaf
CH 2, Sl St in to the 1st chain, 2 Sl St
CH 3, Sl St in to the 1st chain, Sl St in to the next 3 leaf stitches
CH 3, Sl St into 1st chain, Sl St in to the same st.
Sl St around the end of the leaf and work a similar pattern back down the other side of the leaf.
Make 3 berries
Ch 2, 4 DC into the 2nd chain.
DC into these 4 sts.
Finish off.
Using a needle run a gather around the bottom of the berry to close.
Sew the leaves and the berries to the top of the pudding.
And there you have your little festive trio, all that’s left to decide is who to give them to!" - Kate Eastwood